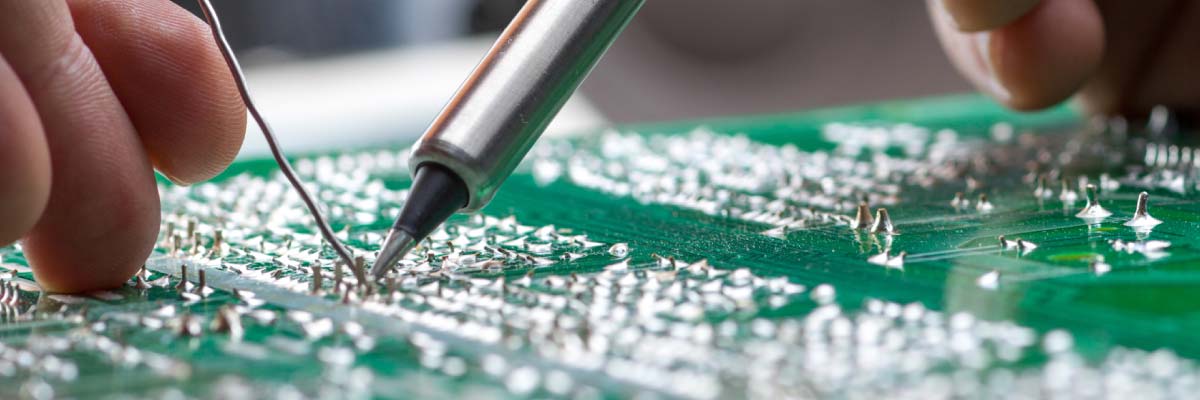
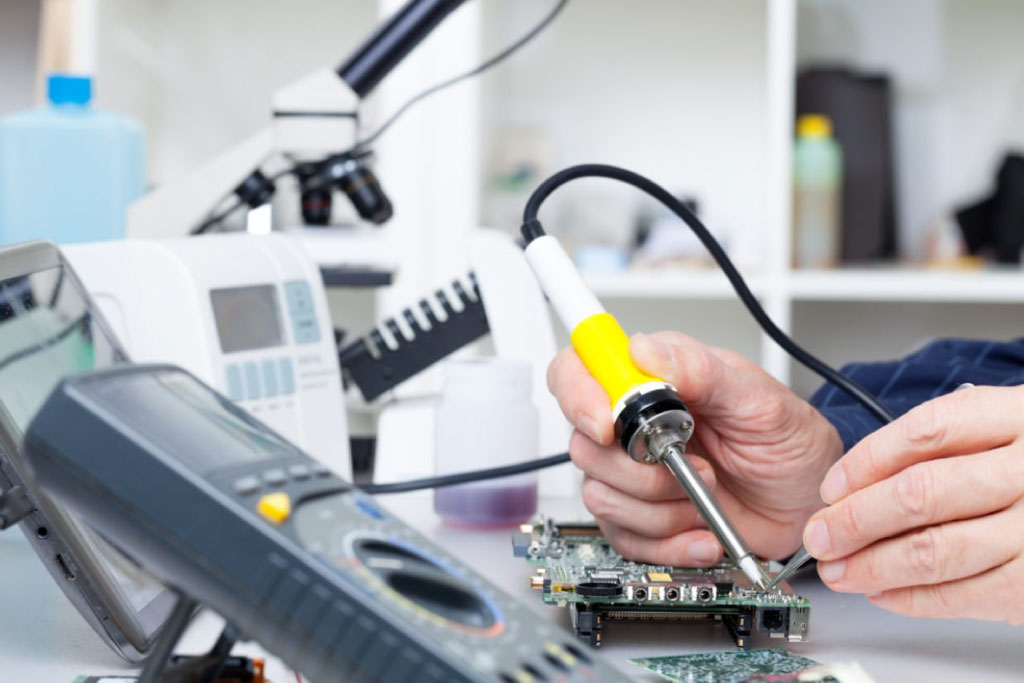
Soldering Exercise, the art of joining two metal components together using a heated filler material, is not just a vital skill in the world of electronics—it’s also an excellent exercise for improving dexterity and problem-solving abilities. Whether you’re a beginner looking to learn the basics or an experienced hobbyist diving into advanced techniques, mastering the art of soldering can open up a world of possibilities. In this comprehensive guide, we’ll delve into everything you need to know about soldering exercises, from the basic steps to advanced techniques and safety precautions.

What is Soldering?
Soldering is the process of joining two or more metal components together using a filler material called solder. This technique is commonly used in electronics, plumbing, jewelry making, and various DIY projects.
Importance of Soldering Exercises
Soldering exercises are essential for anyone looking to work with electronics or pursue a career in engineering. They provide hands-on experience in creating reliable electrical connections and understanding the properties of different soldering materials.
Basic Tools Needed for Soldering
Before diving into soldering exercises, it’s crucial to have the right tools

- Soldering iron
- Solder wire
- Flux
- Desoldering pump or wick
- Helping hands or clamps
Types of Soldering Exercises
Through-Hole Soldering
This type of soldering involves components with leads that pass through holes in a circuit board. It’s a beginner-friendly technique and a great way to practice soldering connections.
Surface Mount Soldering
Surface mount soldering is more advanced and involves soldering components directly onto the surface of a circuit board. It requires precision and steady hands but allows for more compact and efficient designs.
Soldering Electronic Components
This type of soldering involves working with various electronic components such as resistors, capacitors, and integrated circuits. It’s a fundamental skill for anyone working with circuit boards.
Benefits of Soldering Practice
Develops Fine Motor Skills- Soldering requires precise movements and a steady hand, which can improve hand-eye coordination and dexterity.
Improves Problem-Solving Abilities- Troubleshooting soldering connections helps develop critical thinking skills and the ability to identify and fix errors.
Enhances Creativity- Soldering opens up opportunities for creating custom electronics projects and experimenting with different designs.
Getting Started with Soldering
Setting Up Your Workspace- Create a clean and well-ventilated workspace with adequate lighting. A heat-resistant mat or surface is essential to protect your work area.
Safety Precautions- Always wear safety goggles and gloves to protect yourself from burns and exposure to solder fumes. Ensure proper ventilation in your workspace.
Choosing the Right Soldering Iron and Solder- Select a soldering iron with the appropriate wattage for your project. Lead-based solder is common but requires careful handling; consider lead-free options for safety.

Step-by-Step Guide to Soldering Exercise
Step-1 Cleaning the Tip of the Soldering Iron
Before starting, clean the tip of your soldering iron with a damp sponge to remove any residue.
Step-2 Tinning the Soldering Iron
Apply a small amount of solder to the tip of the iron to create a thin, even coat of solder, known as “tinning.”
Step-3 Heating the Joint
Place the tip of the soldering iron on the joint you want to solder and apply gentle pressure. Heat the joint evenly for a few seconds.
Step-4 Applying Solder
Once the joint is heated, touch the solder to the joint, not the iron. The solder should melt and flow evenly around the connection.
Step-5 Cooling the Joint
After soldering, allow the joint to cool naturally. Do not disturb it until the solder has solidified completely.
Common Mistakes to Avoid
Overheating Components- Excessive heat can damage sensitive electronic components. Use the appropriate temperature settings for your soldering iron.
Cold Solder Joints- Insufficient heat or improper soldering technique can result in “cold” joints that are weak and unreliable.
Using Too Much Solder- Applying excessive solder can lead to messy connections and potential short circuits. Use just enough solder to create a clean joint.
FAQs About Soldering Exercise
What is soldering exercise?
Soldering exercise is the practice of joining metal components using solder, enhancing skills and understanding of electronics.
Why is soldering important for beginners?
Beginners benefit from soldering as it improves hand-eye coordination, problem-solving, and familiarity with electronic components.
What tools are needed for soldering exercises?
Essential tools include a soldering iron, solder wire, flux, desoldering pump, and helping hands for stability.
How can I improve my soldering technique?
Practice on scrap materials, watch tutorials and ensure proper cleaning and maintenance of your soldering iron.
Is soldering safe?
When done correctly with safety precautions such as ventilation and protective gear, soldering is a safe and rewarding skill to master.

Bottomline
Get started with soldering exercises today to unlock a world of electronic possibilities! Master the art of joining metal components, enhance your skills, and create amazing projects. Explore the endless potential of soldering and dive into the world of DIY electronics.
